Month: June 2023

5 Features to Expect from the Best Photogrammetry Software

If you’re looking to create an orthomosaic map or model, your photogrammetric data needs to be organized and processed with advanced photogrammetry software. But how can you decide which software to use?

Let’s discuss different types of photogrammetry and essential features to look for when choosing the best photogrammetry software.

Types of Photogrammetry

Photogrammetry is a method used to gather accurate data from images. This could include measuring surface area or volume, adding dimensions to topography, detecting change over time, and much more. Depending on the situation, you might use one of two different types of photogrammetry: terrestrial or aerial.

Terrestrial Photogrammetry

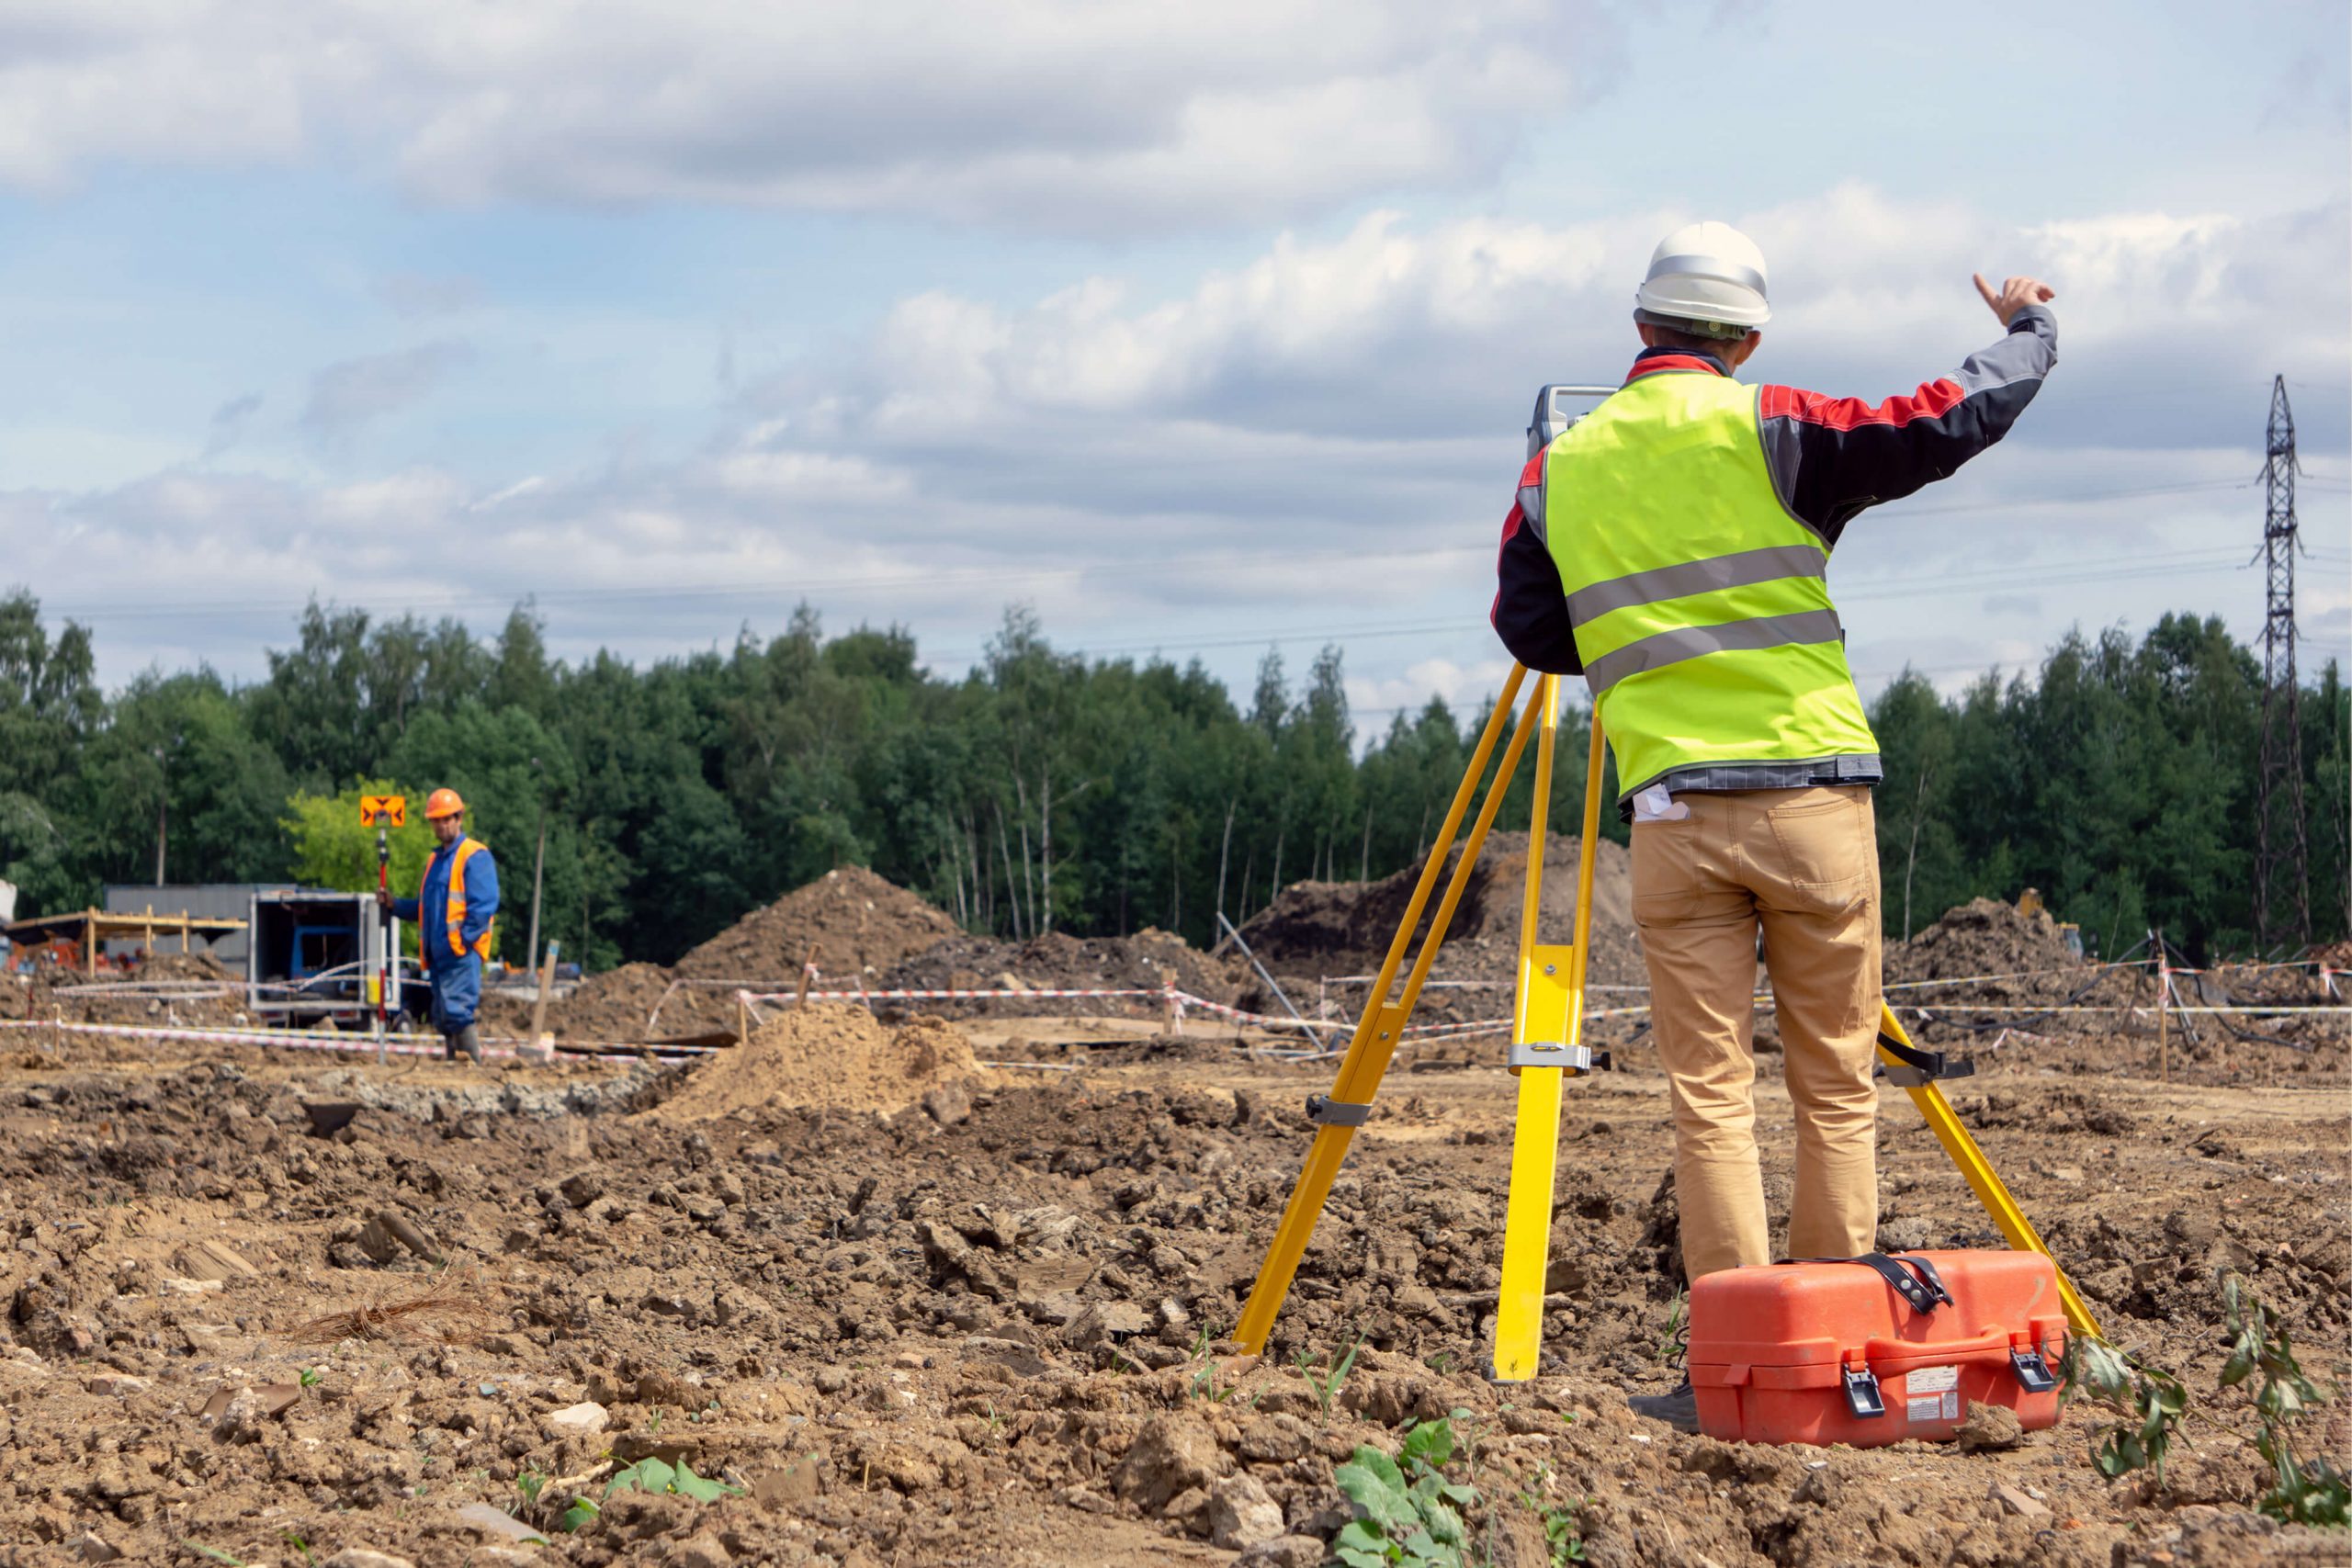
When you capture and process images from the ground, it’s known as terrestrial photogrammetry. You might be familiar with the outcomes of this method if you have ever used Google Street View. In this case, images are collected using cameras on cars. Images can also be captured with cameras mounted on tripods or towers, or with handheld cameras. Terrestrial photogrammetry is best suited for capturing data about smaller areas or specific objects.

surveyor taking terrestrial photogrammetry image of construction site

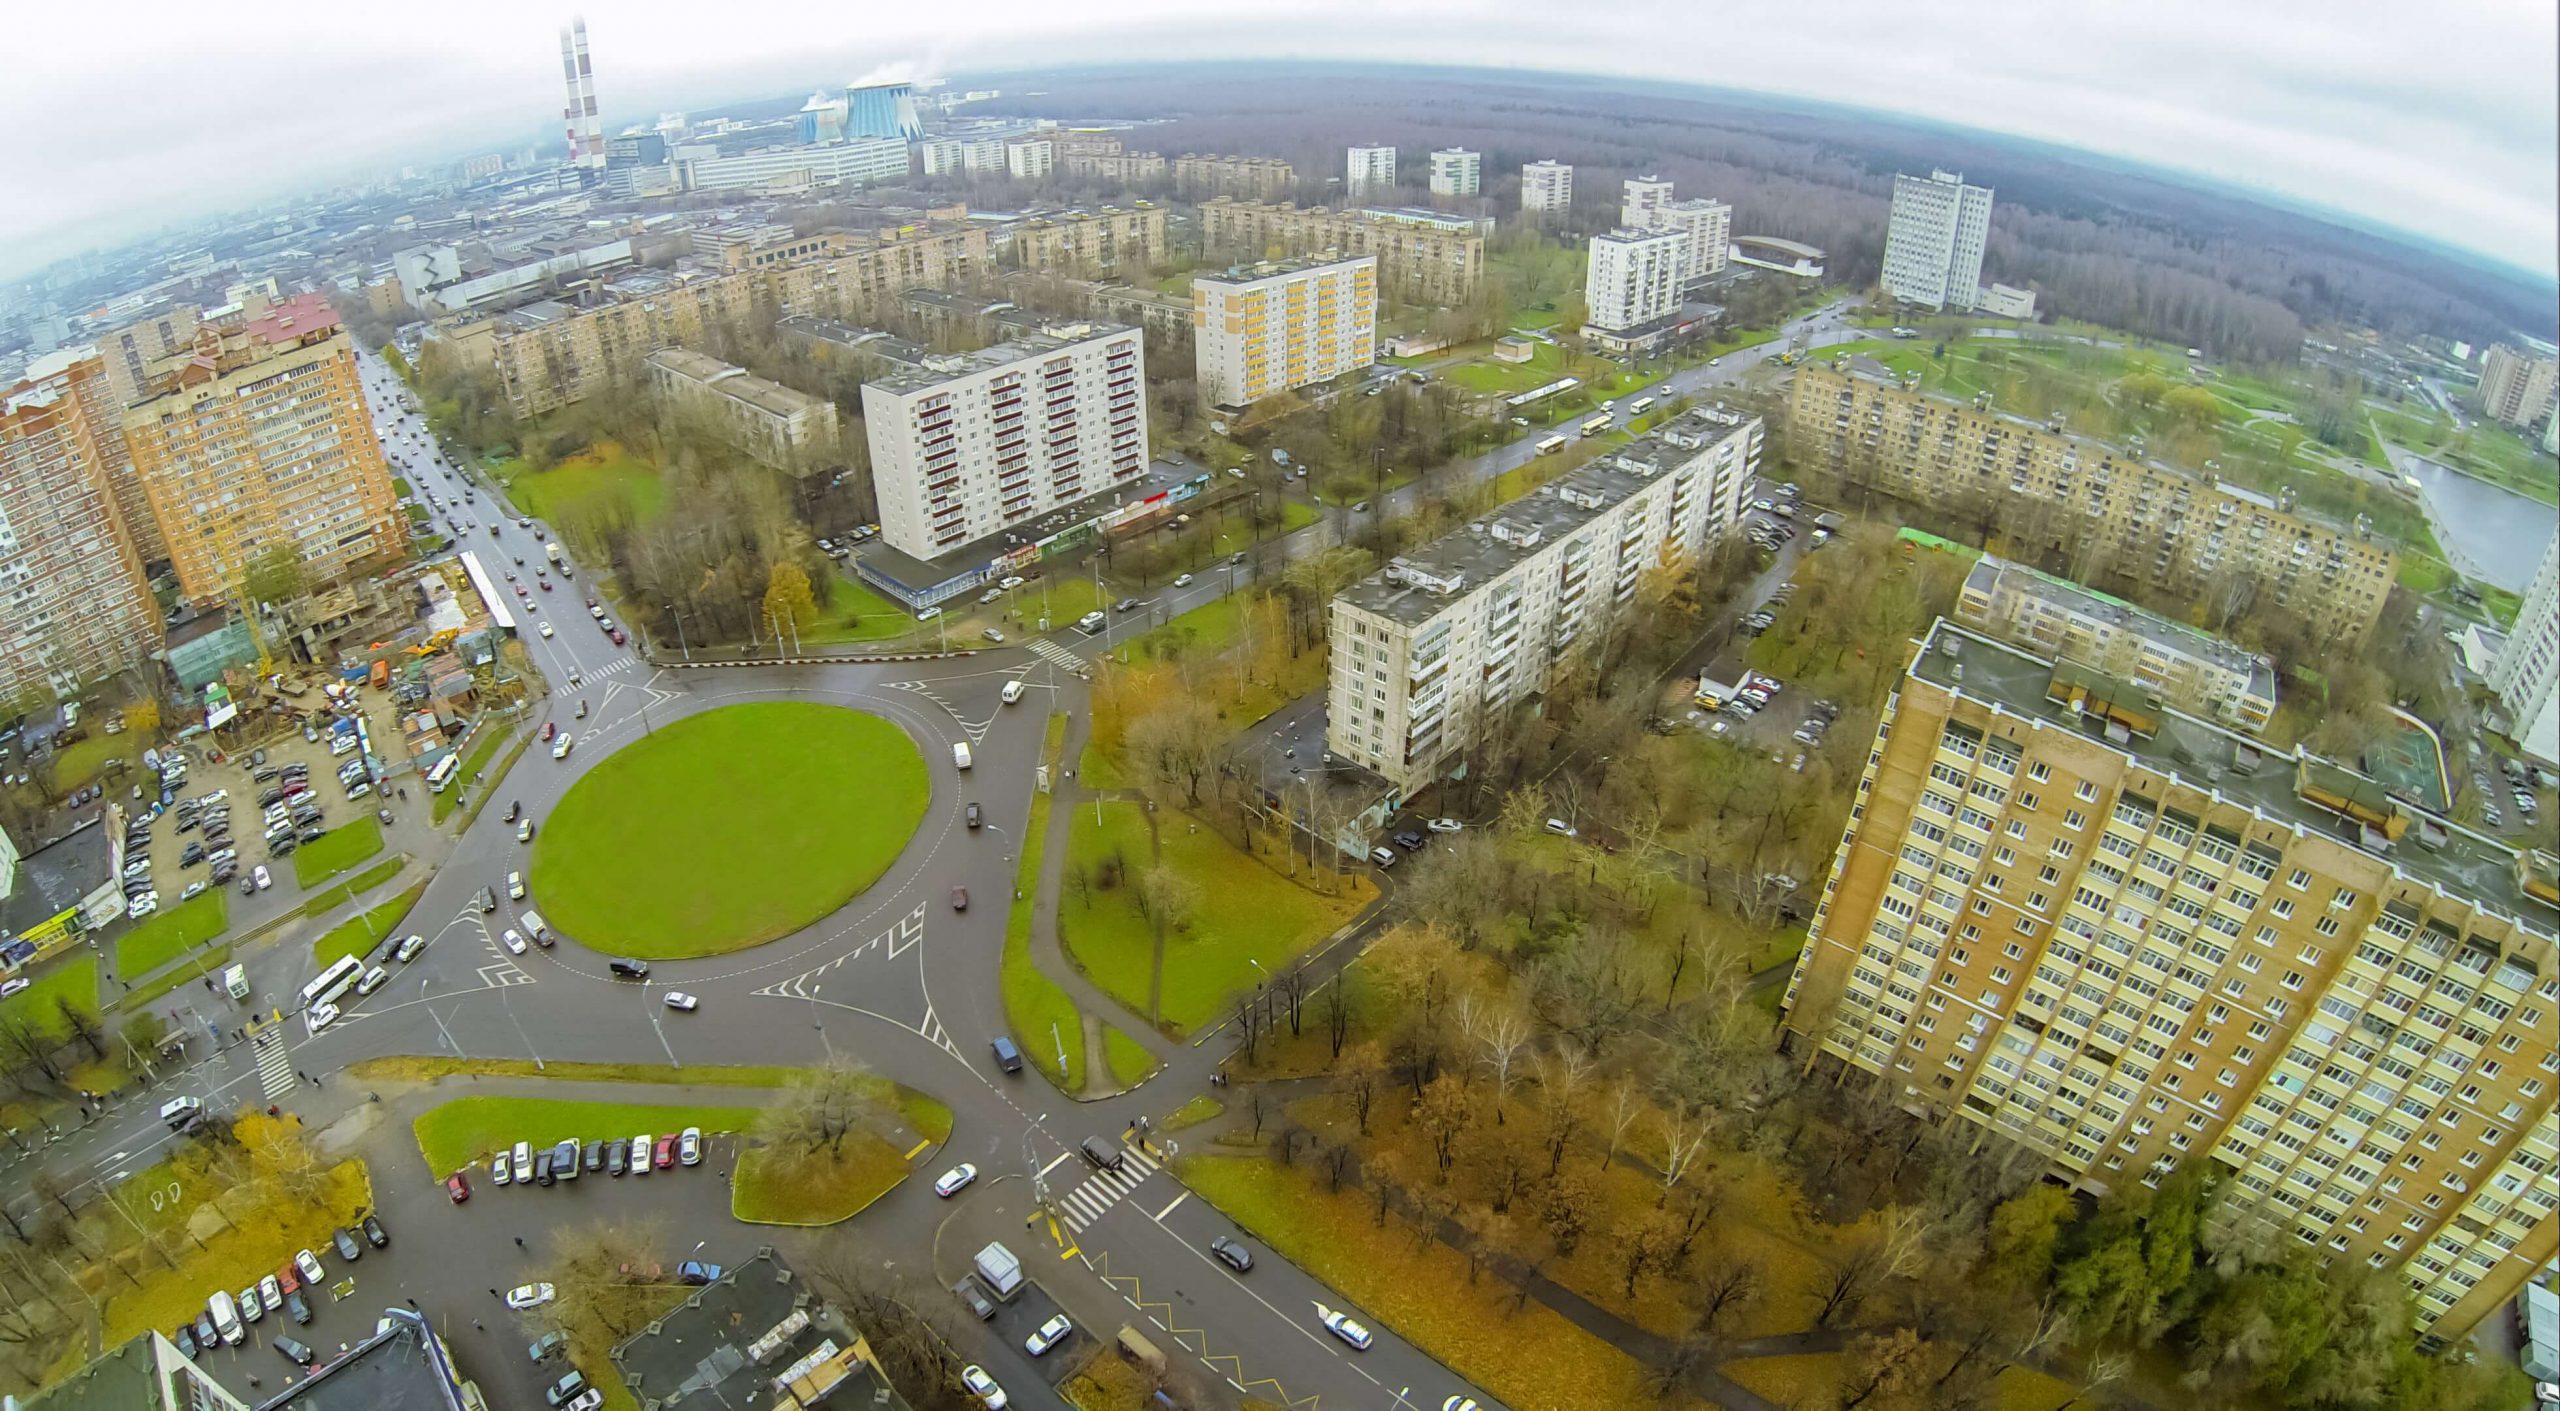
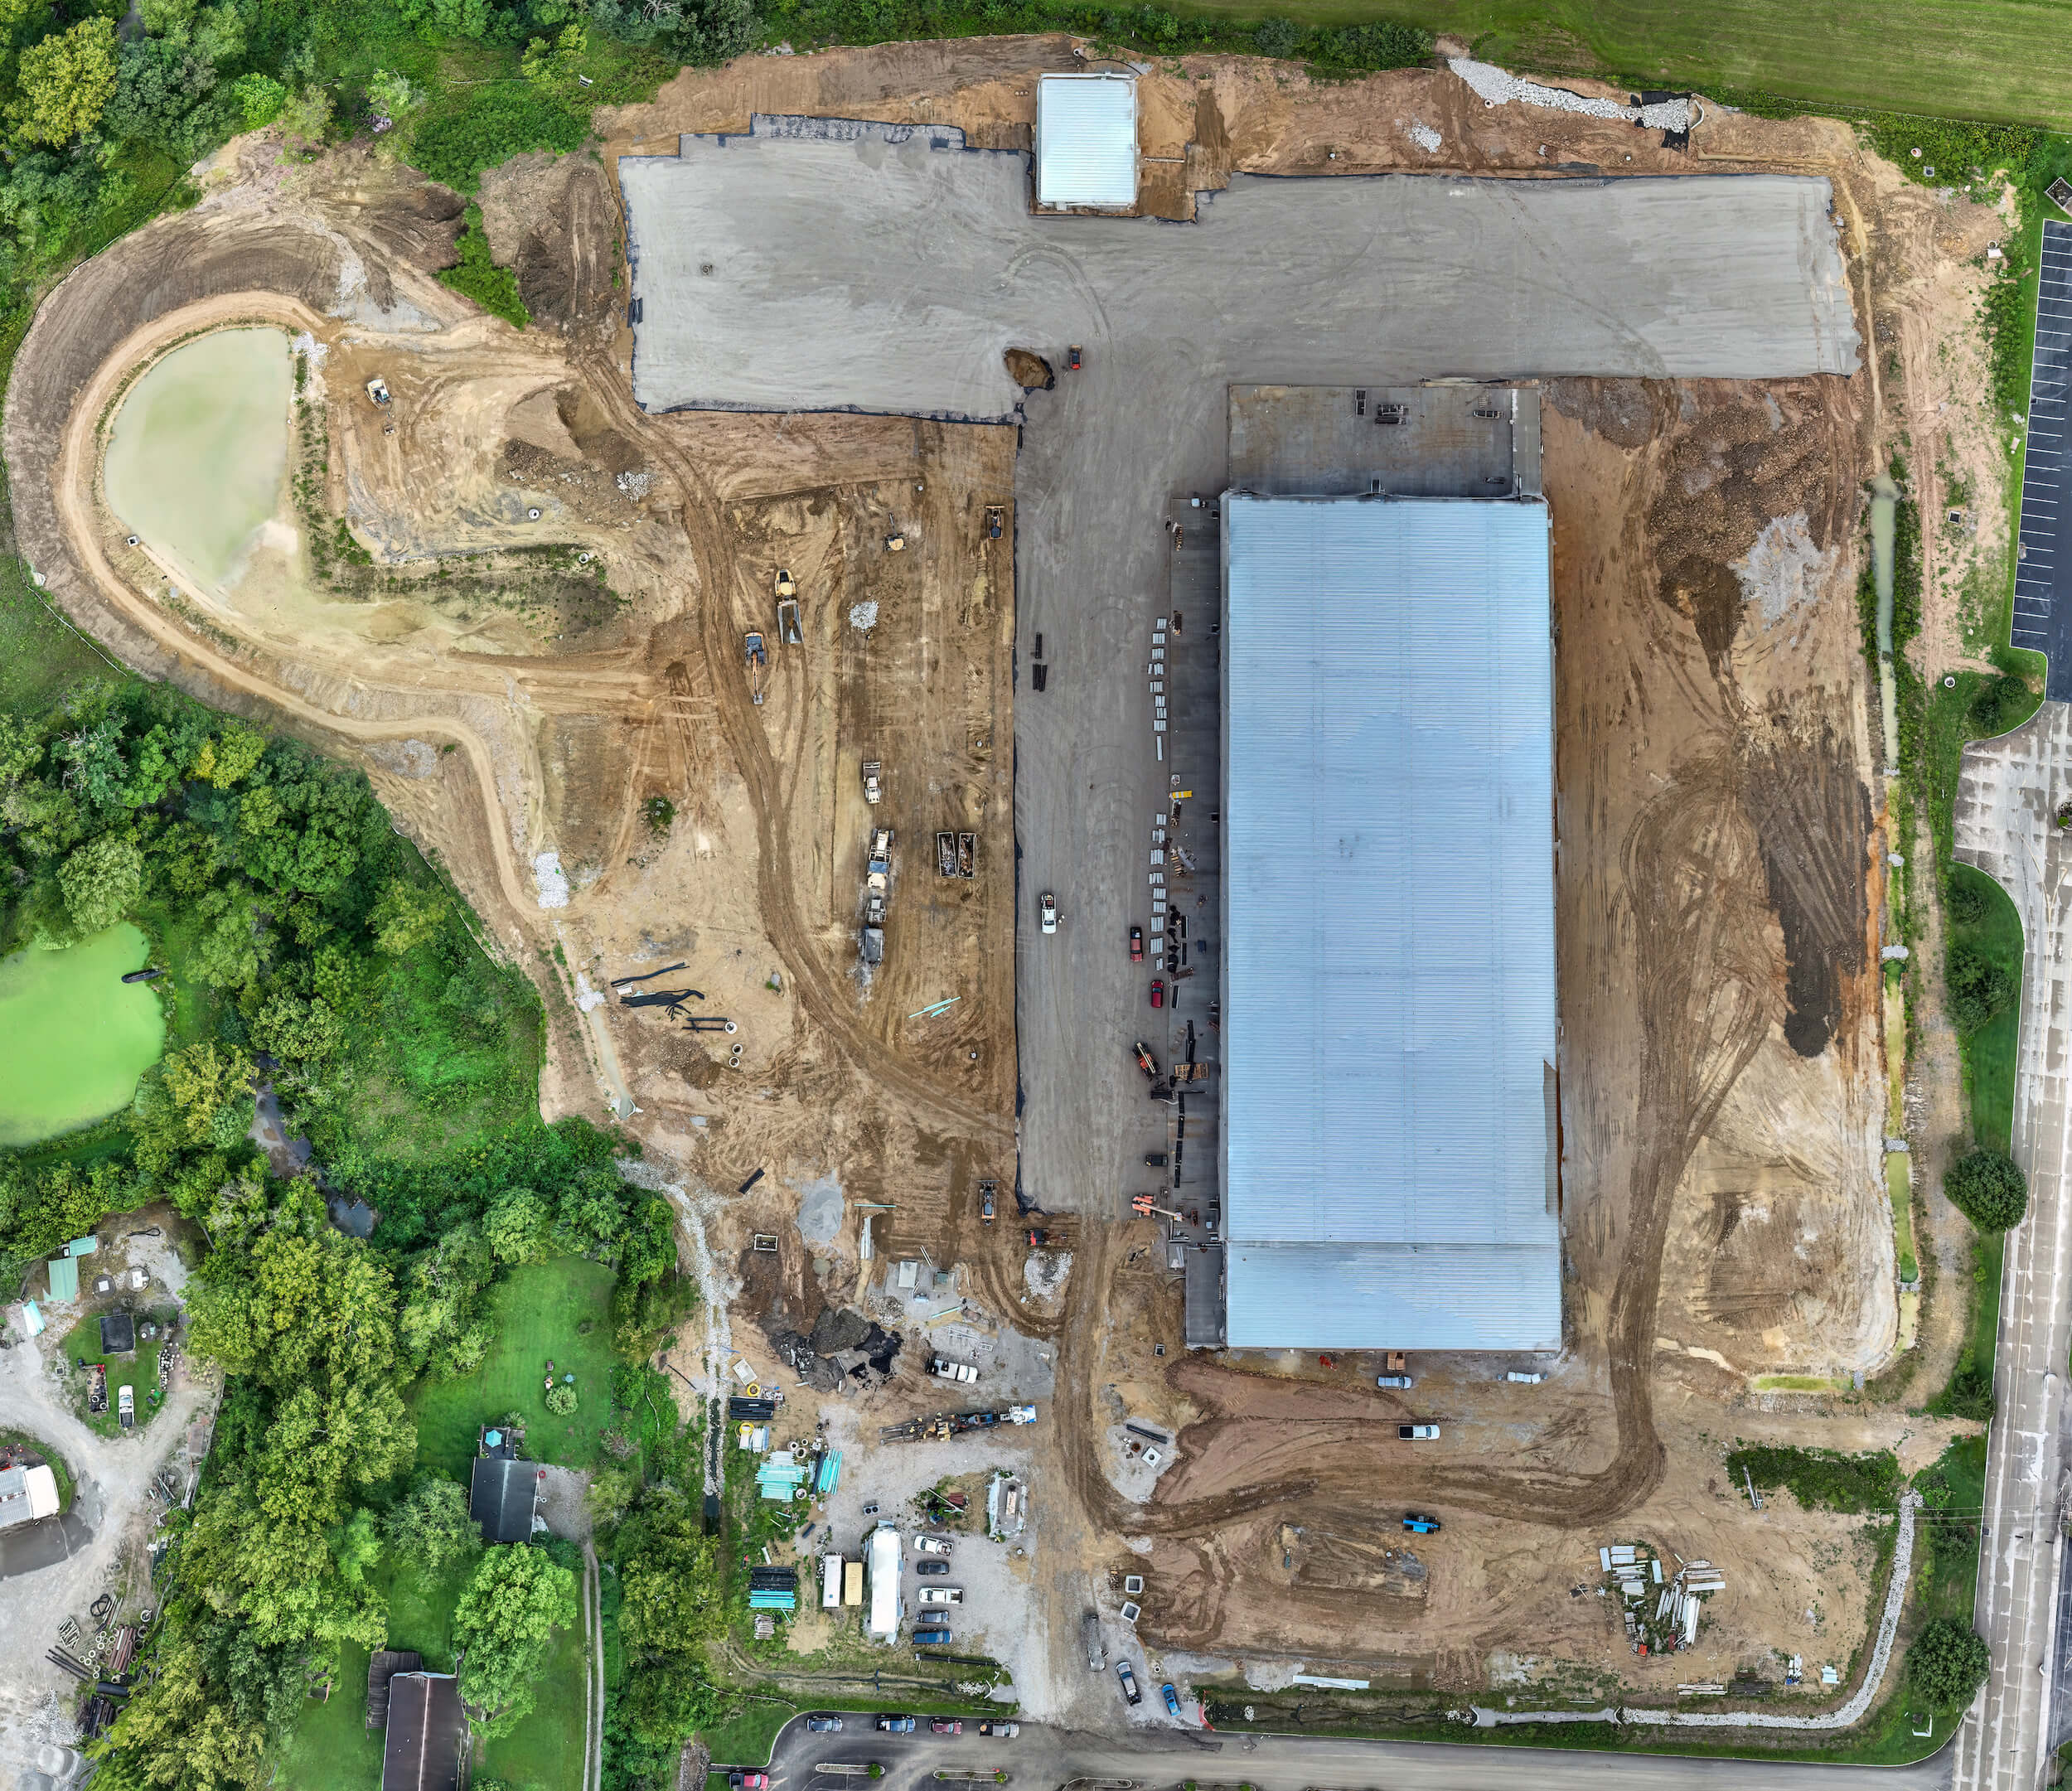
Aerial Photogrammetry 

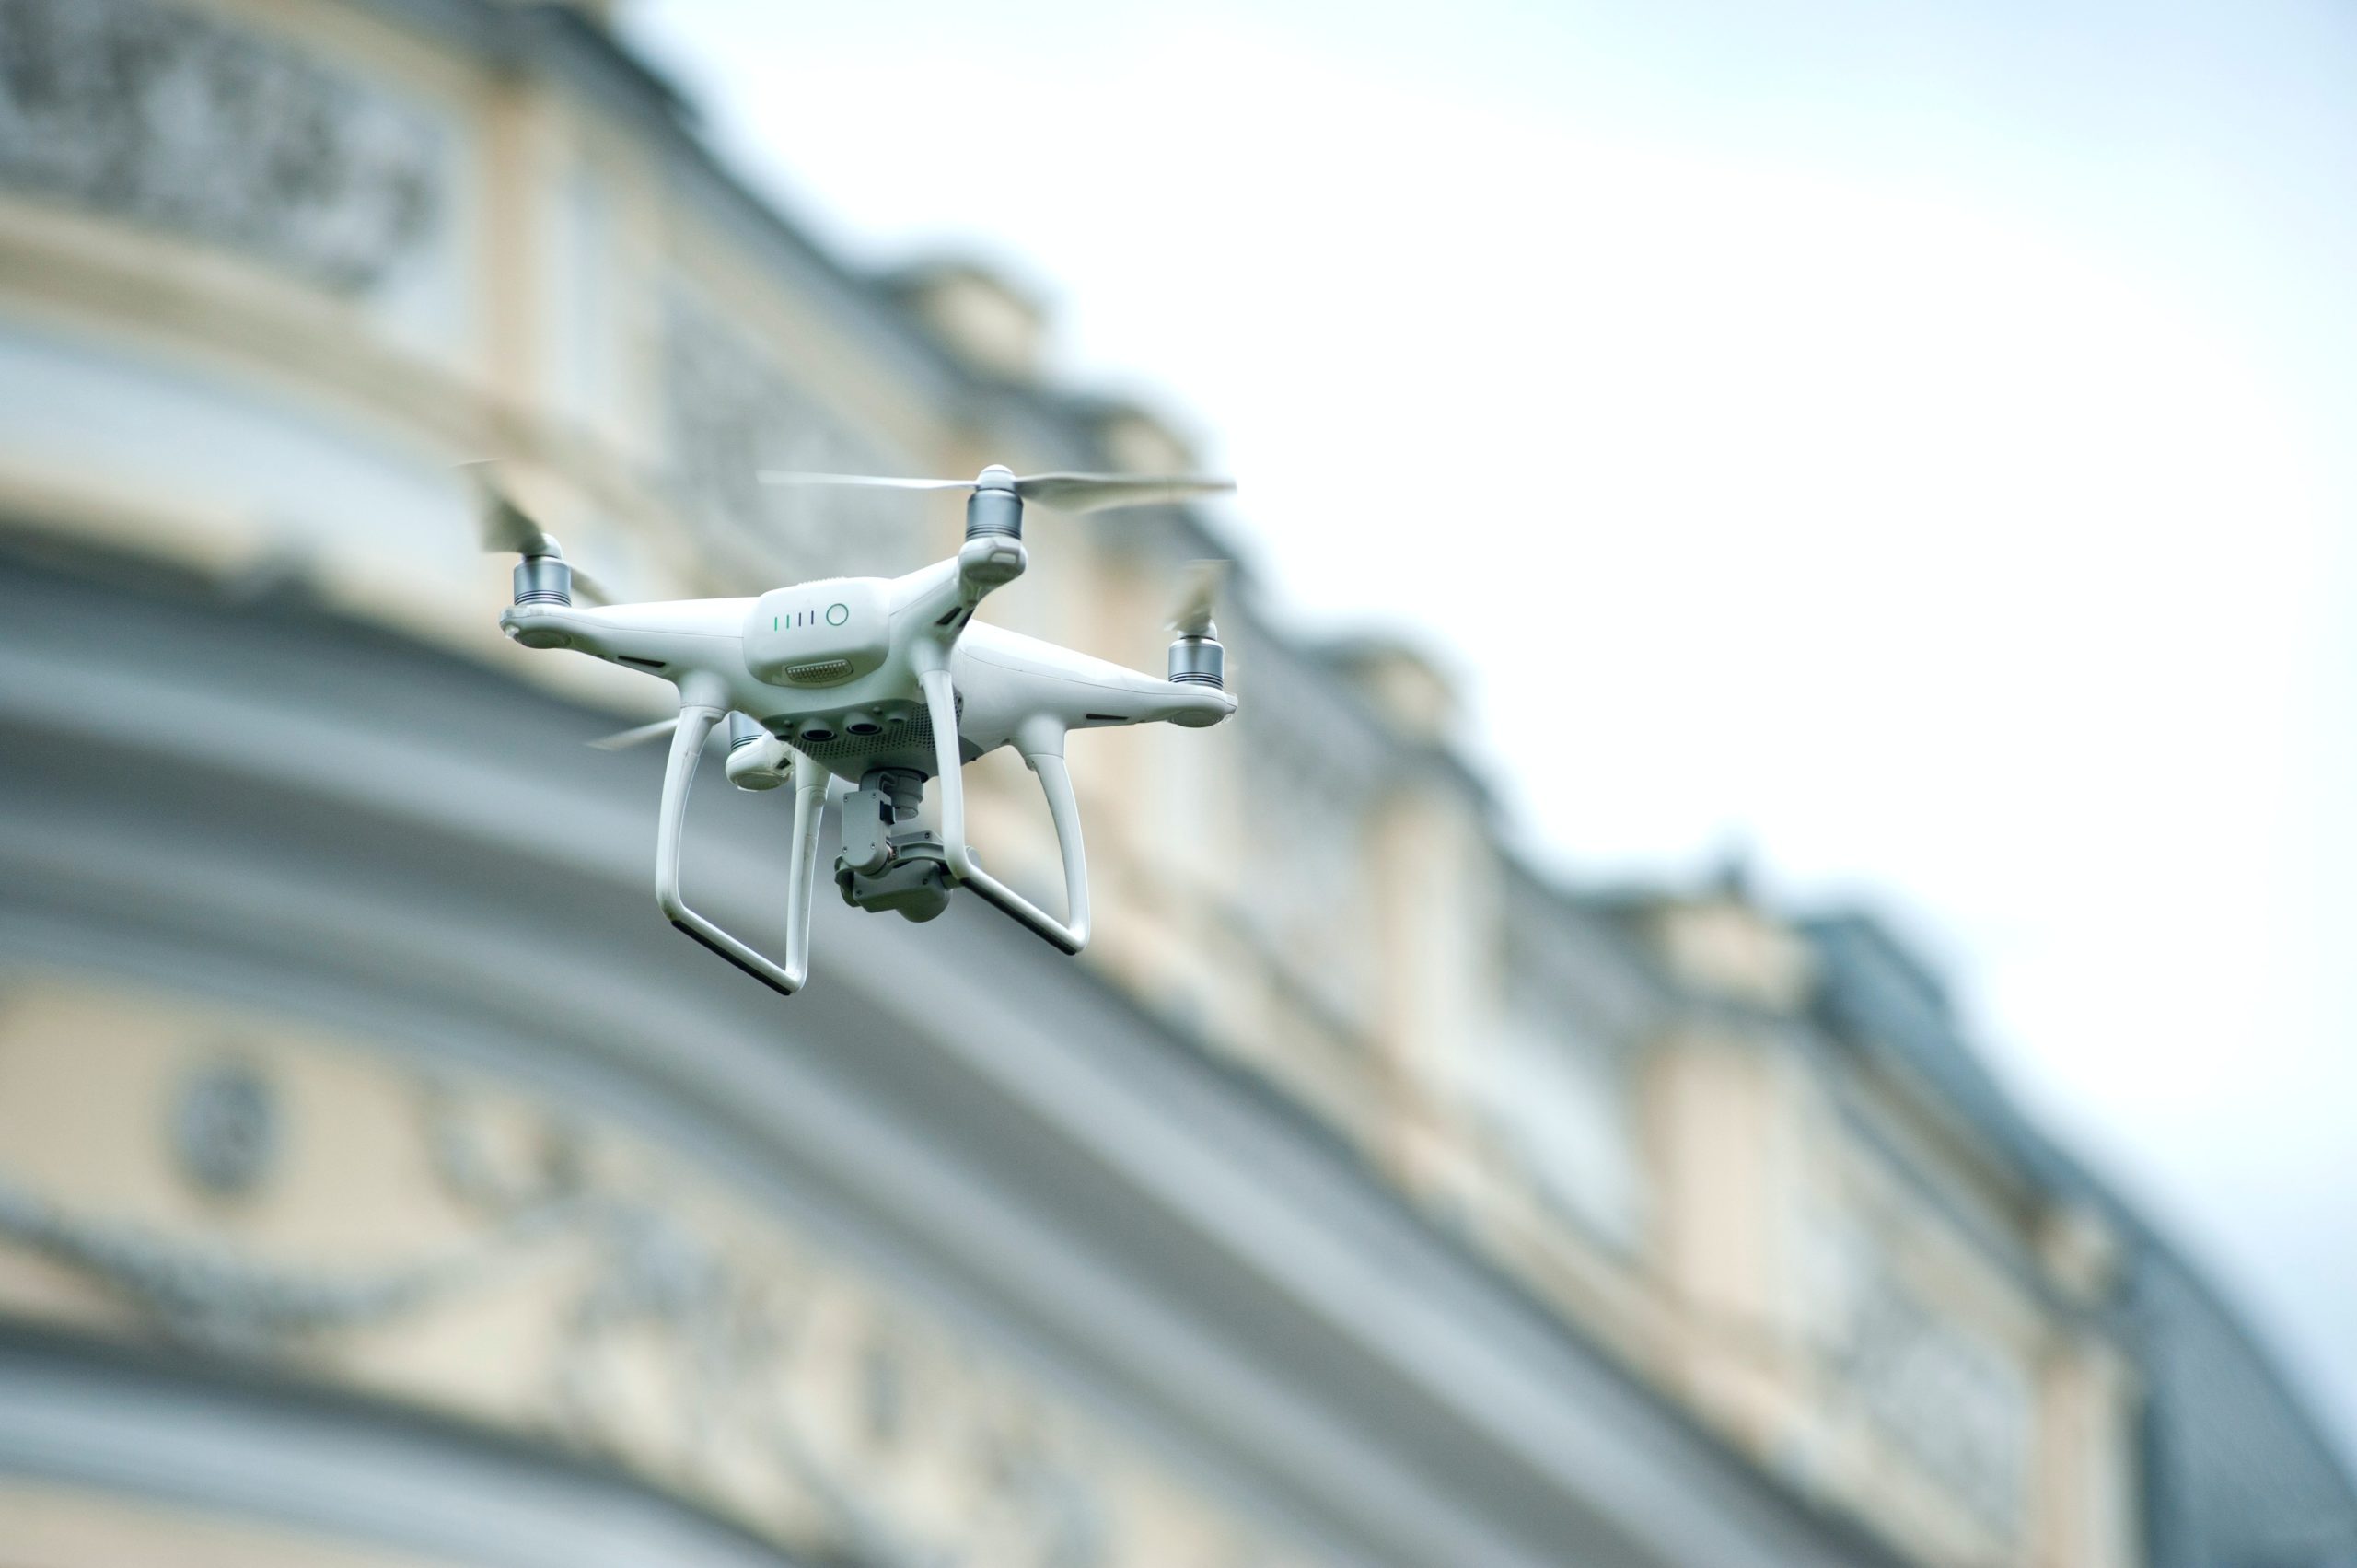
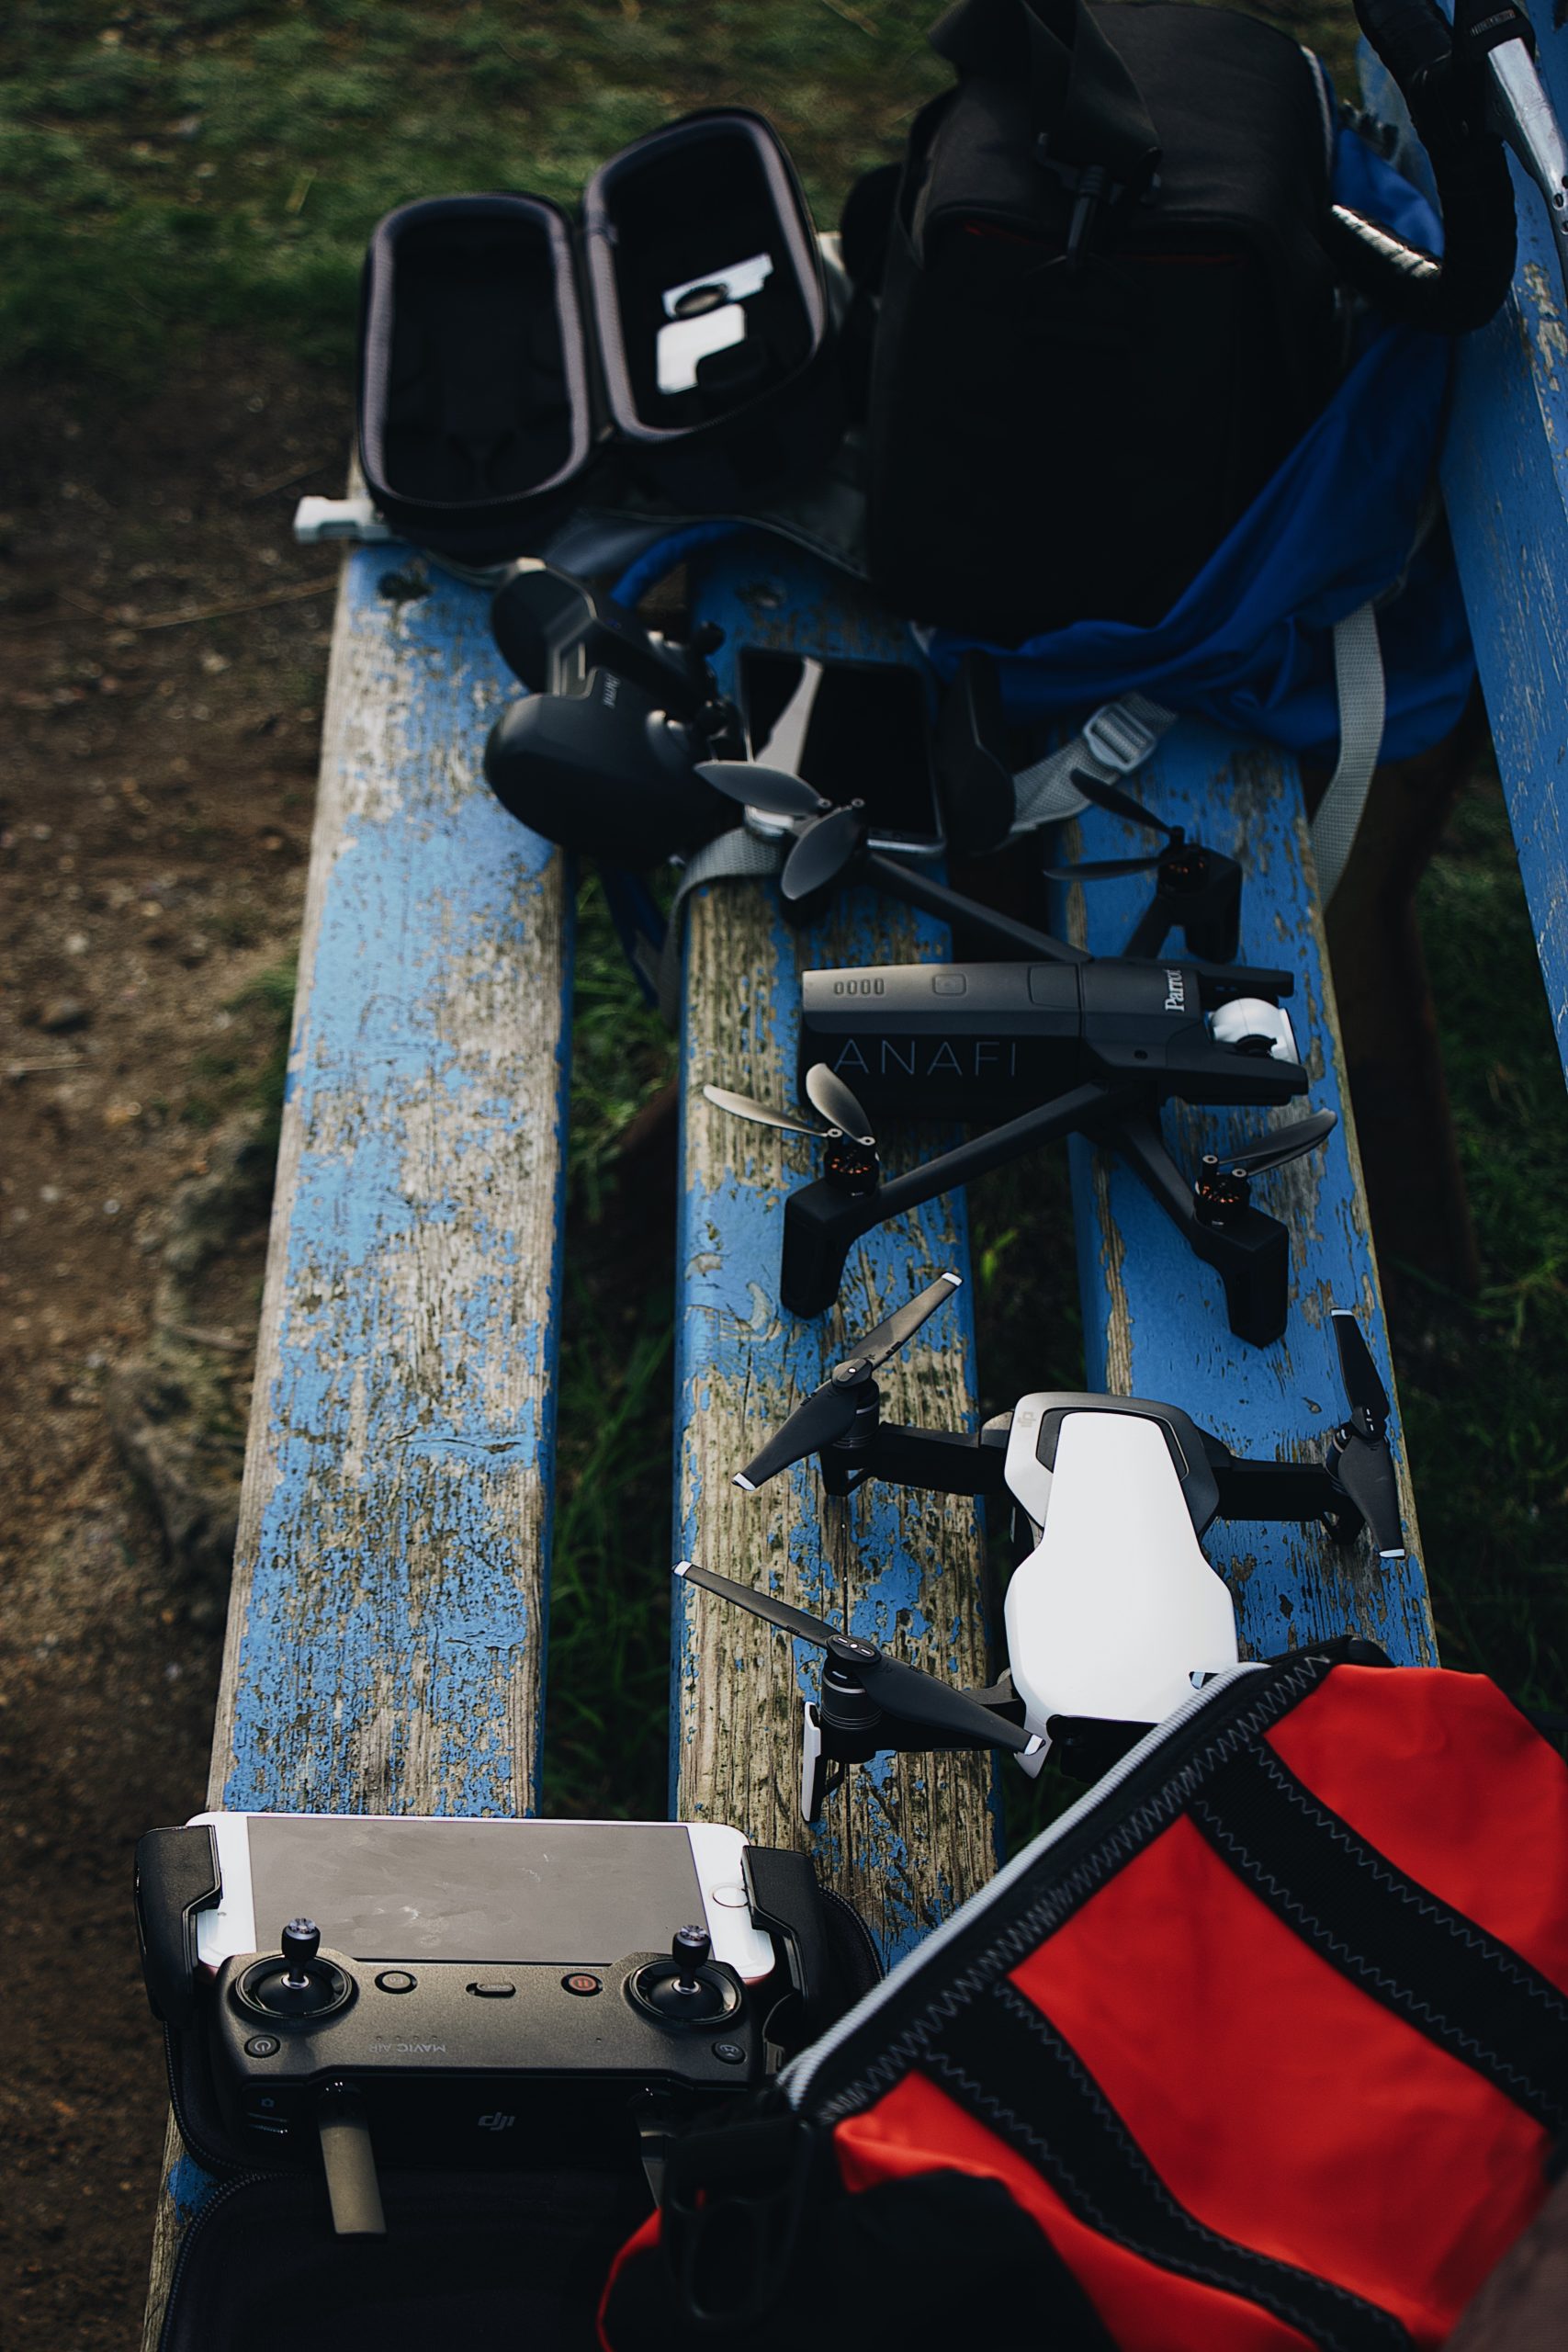
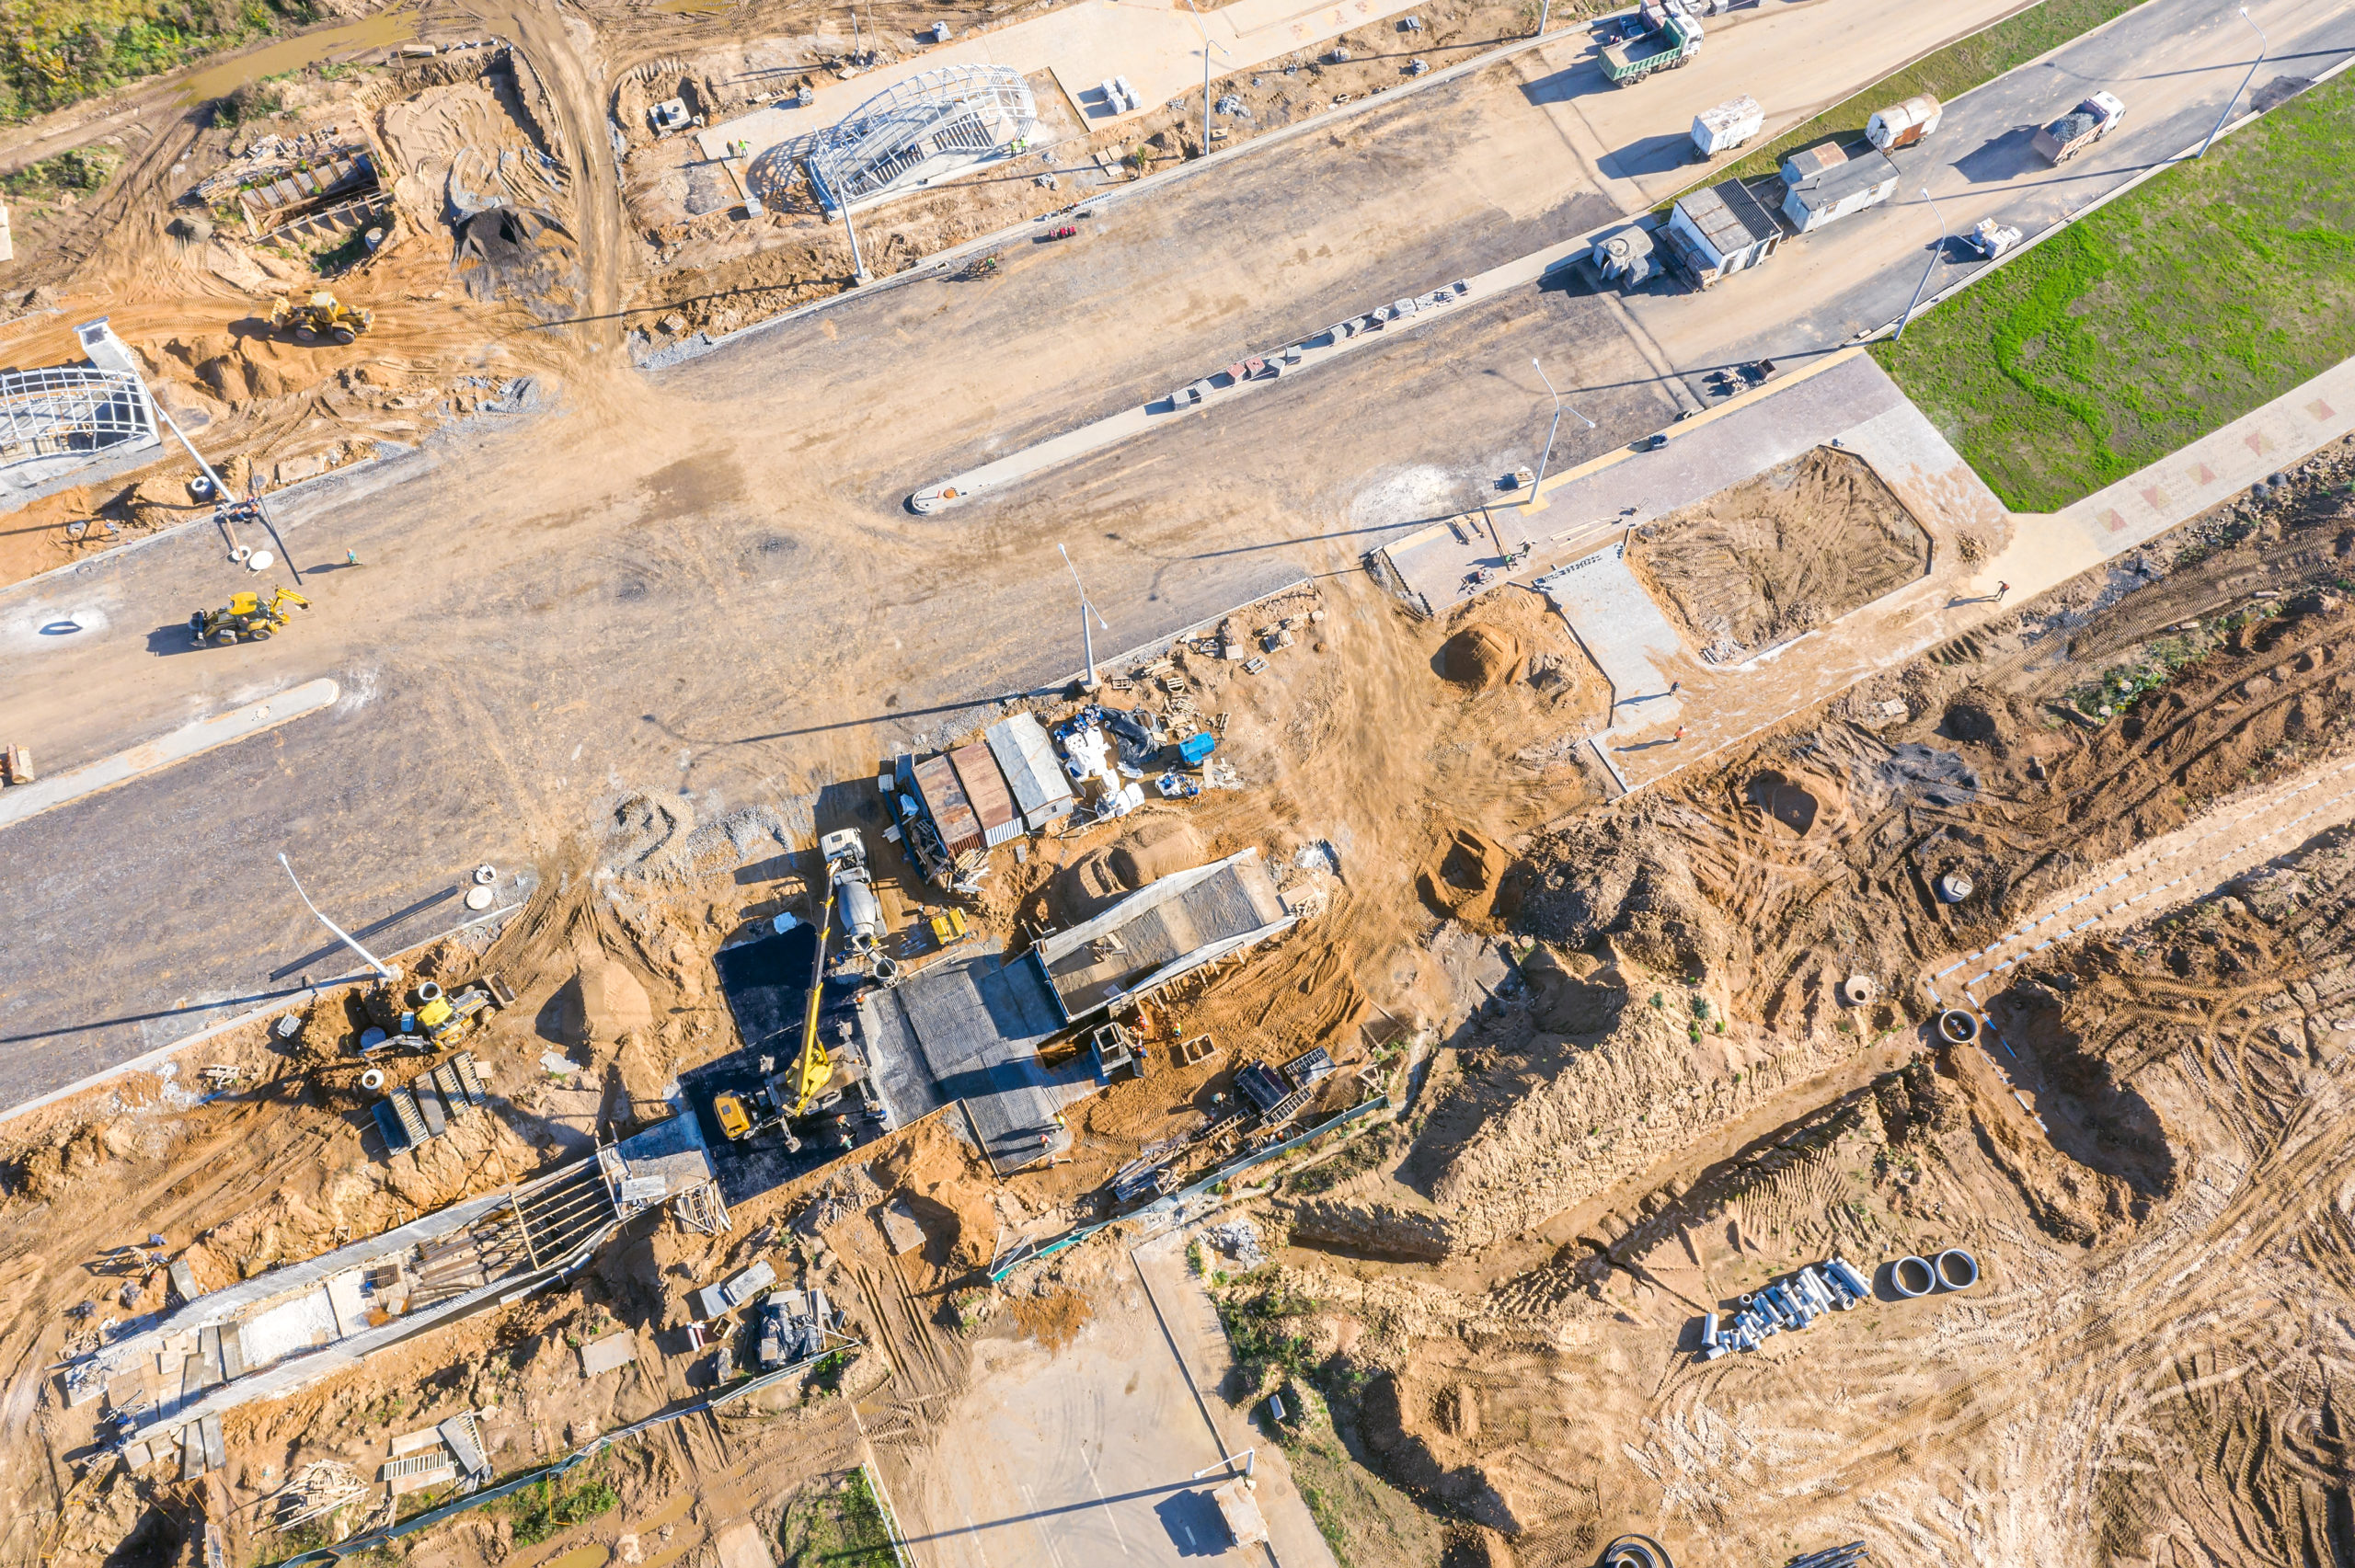
When you need to get information about a larger area, aerial photogrammetry is the best method. Images can be captured from a crane, plane, helicopter, drone, or satellite. For these larger maps, photogrammetry software stitches the images together to create a cohesive picture.

An aerial photogrammetry image of a road construction site with machinery in operation

The Benefits of Photogrammetry Software

After you have captured images, there are a number of benefits to using photogrammetry software to analyze them.

The main advantage is that you can process data much faster than manual methods. With the right photogrammetry software, you can get accurate measurements, calculate distances, determine the volume of materials on a site, and more in a matter of hours. 

Photogrammetry software also allows you to easily share information, either within the platform itself or by exporting to files that can be incorporated into other documents or imported into other software like 3D printers, engineering software, and so on.

Who Uses Photogrammetry Software?

The best photogrammetry software is used across a range of industries and professions for a variety of use cases, including:

  • Architecture and engineering
  • Archaeology
  • Geology
  • Oil and gas exploration
  • Forensic science
  • Farming and agricultural research
  • Environmental protection
  • Military and defense

Five Features to Expect from the Best Photogrammetry Software

You’ll need to consider the specifics of your project, but in general, you should expect the following five features from the best photogrammetry software.

1. Speed

Photogrammetry involves processing enormous amounts of data, and you need a platform that can do that without slowing you down. Especially for larger projects, processing speed can vary depending on the provider’s technology.

Cloud-based solutions aren’t limited by on-premises hardware, which means your data can be processed faster. When researching providers, look for a cloud-based solution that operates on highly rated data centers and uses graphics processing unit (GPU) acceleration to expedite processing.

2. Accuracy

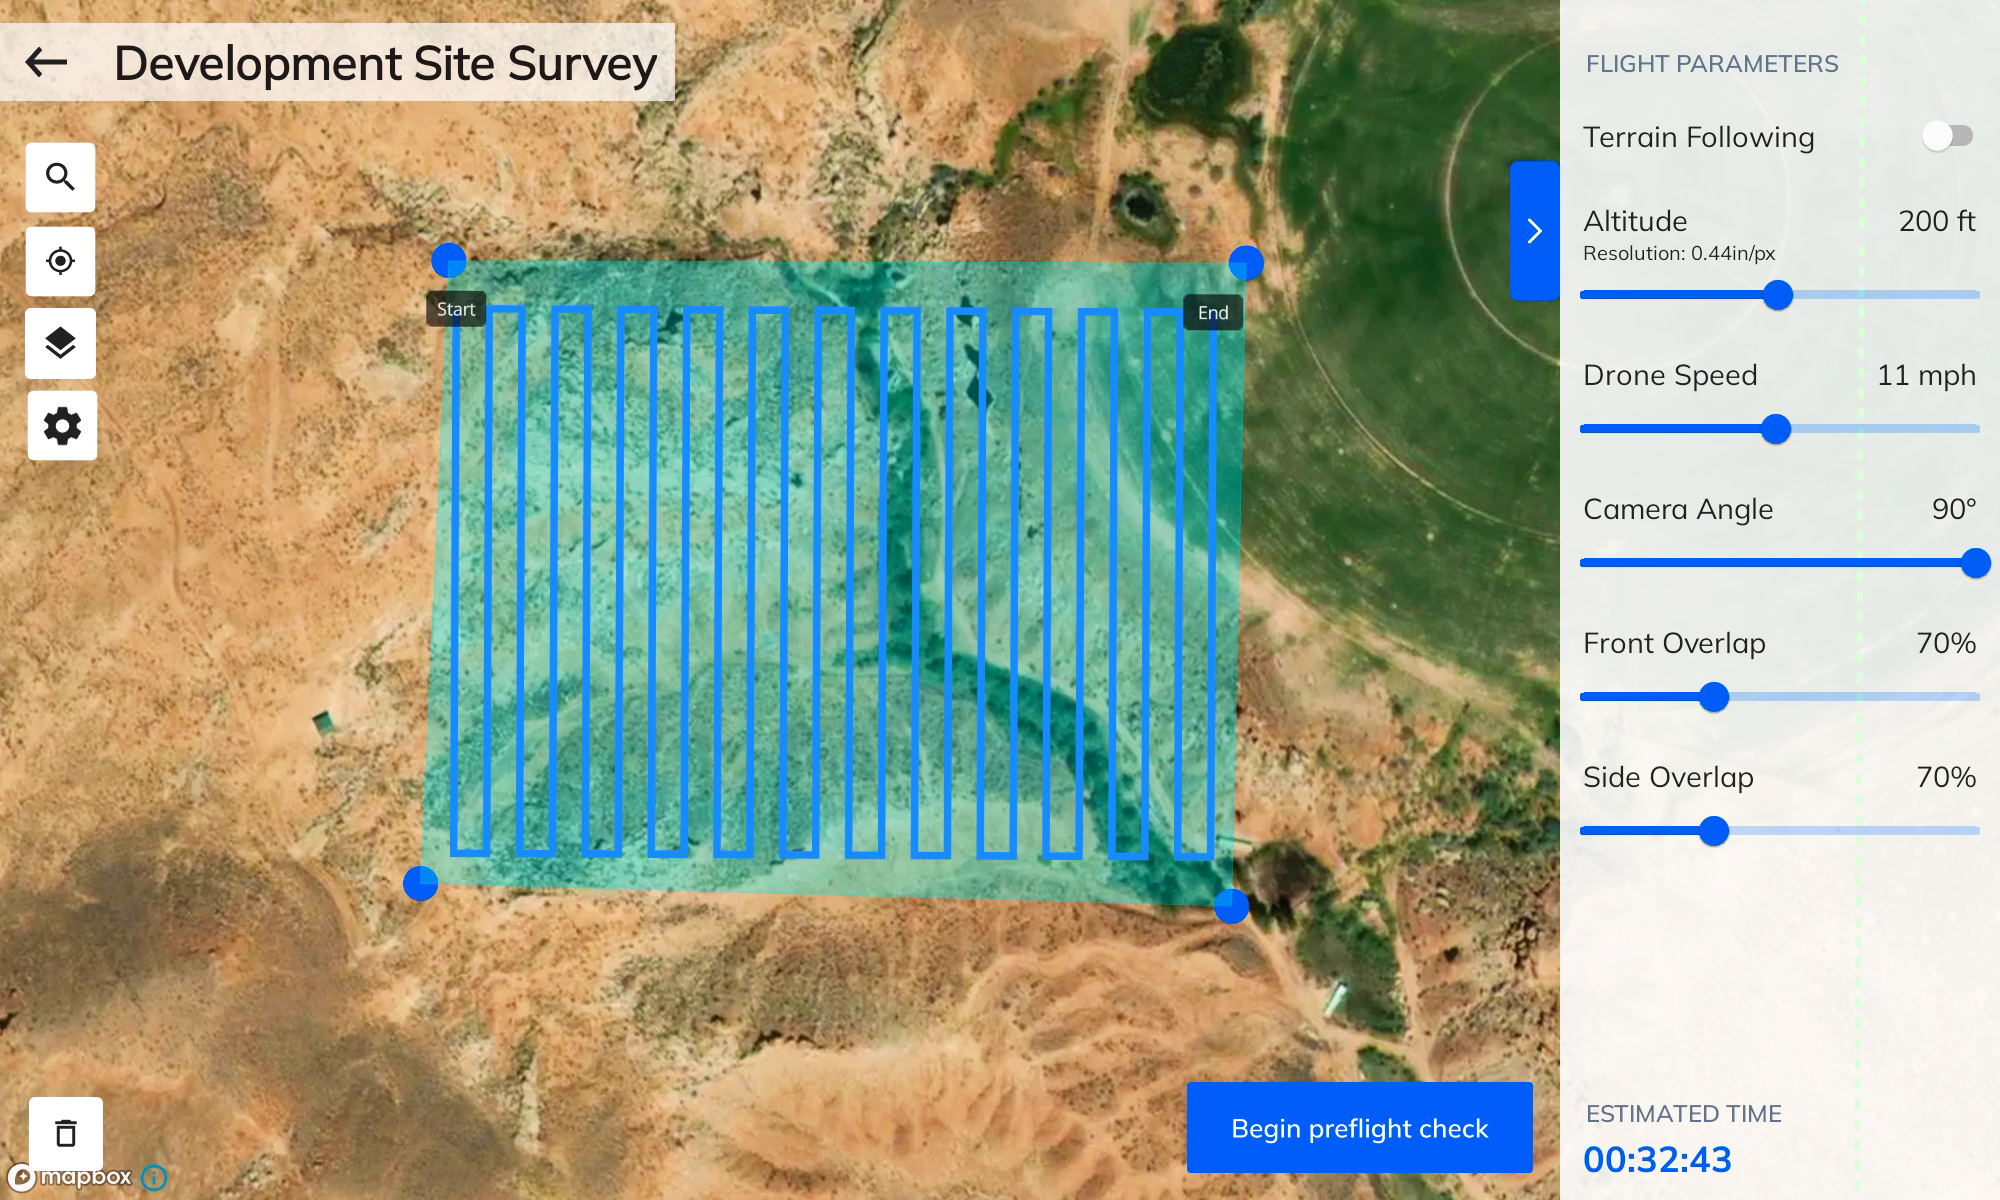
Accuracy depends largely on the images and data you collect, so your flight plan will be very important on this front. Without solid image capture, you’ll likely end up with errors and distortion. However, the software you use will also impact the accuracy of your final map. Look for a platform that includes accuracy tools such as ground control points (GCPs) and scale constraints, which help ensure that your final map is to scale.

3. Stability

If you’re working on a deadline, you can’t afford constant software crashes and errors. It’s critical to look for a platform that can guarantee uptime and stability. A provider with a cloud-based, geographically distributed system and state-of-the-art data centers is more likely to be able to offer that stability.

4. Scalability (No Arbitrary Upload Limits)

Some platforms can process thousands of photos—and terabytes or petabytes of data—at a time. Upload limits can seriously inhibit your ability to complete larger, highly detailed projects. Even if you’re not looking to complete a huge project right now, scalability is key, so it’s best to choose a platform that will scale up to meet your needs.

With some platforms, upload limits will cap the amount of data you can process, which means you’ll have to go through the hassle of switching platforms if you want to move on to bigger and better projects. Giving your business the flexibility to process more data in the future eliminates that particular roadblock when it’s time to scale up.

5. User-Friendliness

Photogrammetry software is an amazing tool with a variety of use cases. With more and more people across industries leveraging this technology every day, it’s important for it to be accessible. In other words, it shouldn’t be a headache to use.

The best photogrammetry software is straightforward and user-friendly, and it doesn’t require advanced technical knowledge. Look for a platform that’s easy and convenient to use, from creating maps to storing, sharing, and using them.

Explore Mapware and Mapware Fly

There are several software solutions on the market that can help you convert raw data into orthomosaic maps, so you’ll need to choose the best photogrammetry software for your particular needs around processing, budget, technology, and more.

As you evaluate different platforms, consider speed, accuracy, stability, scalability, and user-friendliness—key features you’ll find from Mapware. For flight planning, take advantage of our free Mapware Fly app to make the most of your time in the air.

learn how the public sector drives innovation with geospatial intelligence and data driven mapping ebook

This article, originally posted on September 11, 2020, was updated June 22, 2023.

Understanding Errors and Distortion in Remote Sensing of Environments

The old saying “garbage in, garbage out” is true of many situations, and in remote sensing of environments, it’s spot on. The insight you gain from a data set is only as good as the data you source.

Distortion in aerial photography or metadata inconsistencies can botch results, impacting project cost, deadlines, and even safety. When estimating vegetation growth for fire prevention or tracking hillside erosion in residential areas, for example, remote sensing accuracy can become a matter of life and death.

Accurate data from remote sensing technology is fuel for process automation, 3D immersive mapping, advanced security, and much more. But how do you detect errors and distortions that can undermine data integrity?

Understanding Resolution

To understand how errors happen in remote sensing of environments, we need to understand the factors at play in generating data.

Photogrammetry relies on high-resolution images to quantify measurements and form 3D models of buildings, infrastructure, property, and more. This aerial photography involves different forms of data resolution that expand on our general understanding of picture quality. Resolution in photogrammetric data comes in three distinct forms:

1. Spatial Resolution

Spatial resolution describes the area and detail of the smallest feature detectable via a remote sensing device. It’s usually described by a single value representing the length of one side of a square pixel. In other words, a spatial resolution of 100m means that one pixel represents an area of 1,000 square meters on the ground.

The finer the spatial resolution, the more precise the data in each pixel—and the more refined your spatial analysis can be.

2. Spectral Resolution

Light and color can be valuable indicators of on-the-ground conditions or infuriating sources of errors and distortions. It all depends on how accurately you document them.

Spectral resolution describes the capacity of a sensor to document electromagnetic wavelengths including color, infrared light, and more. The finer the spectral resolution, the narrower the range a sensor can document.

Color and shadow matter for most projects, but they are especially important for satellite-mounted technology. Extra layers of atmosphere can become sources of geometric distortions in remote sensing.

3. Temporal Resolution

When too much time passes between two data sets, you lose the continuity necessary to draw solid conclusions. This loss of continuity stems directly from poor temporal resolution. The older data sets may also no longer meet accuracy and precision requirements for spatial or spectral resolution, creating inconsistencies and clouding results.

Thankfully, new UAV-mounted remote sensing devices make it affordable to collect data and improve temporal resolution on data sets.

remote sensing of environments image distortion

Dealing with Image Distortion

What can you do when remote-sensing images don’t turn out right? First, understand a few additional factors at play, then use trusted measures to account for the distortion and obtain more accurate images.

Geometric Distortion in Imagery

Geometric distortion is a warping of the image that distorts spatial relationships. The problem is that it can impact spatial measurement accuracy, appearing to change the size, shape, and space among and between objects.

Remote sensing images are inherently susceptible to geometric distortion because they attempt to capture and represent 3D surfaces as 2D images. Variations in platform stability during data acquisition—including changes in speed, altitude, and attitude—all play roles. But distortions happen for a variety of other reasons, including

  • Sensor optics perspective
  • Scanning system motion
  • Earth’s curvature and rotation 
  • Terrain relief

Distortion Removal

Fixing distortions—or orthorectification—can be as simple as leveraging computer technology. Computers look at new images compared to various ground control points, or snippets of images focused on features with known latitude, longitude, and elevation. Matching the features present in both new images and control points, the computers can resize and rotate the new images to provide an accurate view.

Orthomosaics 

What if you could approach imagery as a puzzle? An orthomosaic is a large map made up of smaller orthophotos, or photos normalized to provide a top-down view. 

What’s unique is that each photo is associated with a specific geographic position. Mapping software then uses geographic data to put the images together, but each must have 70 percent overlap to create an accurate picture. The photos also have to be normalized to account for:

  • Altitude
  • Lens distortion
  • Camera tilt
  • Environmental conditions

Afterward, all images can come together as a 2D orthomosaic that is useful for measuring topography, buildings, materials, and more. 

drone orthomosaic of construction site

Avoiding Errors in Remote Sensing

Errors in remote sensing of environments can be costly. To reduce distortion and other accuracy issues, consider the following factors.

Atmospheric Conditions

Changes in the atmosphere, sun illumination, and viewing geometries during image capture can impact data accuracy, resulting in distortions that hinder automated information extraction and change detection processes. Errors and distortion are often caused by:

  • Humidity
  • Water vapor
  • Light

When atmospheric conditions change, reference points can be obscured or lost, impacting efforts to create accurate measurements from images. For instance, differences in light temperature lead to color changes, distorting data quality and creating unsightly inconsistencies that ruin the magic of 3D maps.

Altitude and Reflectance

Light collected at high elevation goes through a larger column of air before it reaches the sensor. The result is surface reflectance, a phenomenon that can diminish color quality and detail in images. 

The difference in reflectance near the surface and at top-of-atmosphere creates substantial changes in color, image resolution, and perspective. These changes may need to be accounted for in normalization. Even on a small scale, altitude variances between data sets should raise a red flag for cross-referencing and review.

Documented Metadata for Cross-Referencing

Data errors come from sources that are difficult to pinpoint—momentary glitches in connectivity, inconsistencies in light, or other atmospheric distortions in remote sensing of environments. Unfortunately, the sources of errors in geographic information systems (GIS) aren’t always immediately apparent.

Metadata is data that describes data—or in this case, characteristics of the collected GIS data. In photogrammetry, metadata could include:

  • GPS location
  • Focal length and resolution settings
  • Altitude
  • Time and date
  • Atmospheric conditions
  • And more

Metadata should tell you who made the data, provide context for the data, and help determine if the data is appropriate for your project. This information offers insight for researchers and engineers on the conditions under which a data set was created and often the value it creates for a project. Avoid using data sets with incomplete or inconsistent metadata because it could cause erroneous results.

False accuracy is a problem, but regularly layering and cross-referencing data sets against existing data to pinpoint errors and ensure accuracy are good data practices to turn into habits. Always check your metadata when cross-referencing.

Control Over the Flight Path

Photogrammetry relies on the stability of several factors to produce accurate and precise results. Unfortunately, some of the biggest tools used in remote sensing of environments are also the least reliable. Airplanes and helicopters are traditionally used in aerial photography. However, both are susceptible to changes in weather and wind speed, not to mention human error. This makes them unreliable for generating bulletproof data sets for advanced mapping software.

Thankfully, UAV technology offers increased control over flight paths. Drones can also fill the temporal resolution gap by flying frequent tours for less than a single manned flight.

A screenshot of Mapware Fly showing the Flight Parameters sidebar: altitude, drone speed, camera angle, front overlap, and side overlap

Gaining New Reliability with Photogrammetry Software

Leveraging a data-processing solution that ensures up-to-date, reliable data is vital for project success. Aerial’s new Mapware photogrammetry software generates bigger, better 3D maps in the cloud, so you can access them from anywhere. Whether you want to map a single building, a dozen cell towers, or an entire city, this software is backed by an expert team to create value for your project.

learn how the public sector drives innovation with geospatial intelligence and data driven mapping ebook

This article, originally posted on June 4, 2020, was updated June 15, 2023.

Avoid These Six Pitfalls as a New Part 107 Pilot

It’s easy to be a bad pilot—we know from experience. Our goal with this post is to help new Part 107 pilots avoid common mistakes and get the most out of their flying experience. 

Read on for nine essential tips that will make your drone piloting experiences safer and more exciting as a new Part 107 pilot.

1. Not following local and FAA drone rules.

A drone flying next to a building

If you want to be a responsible drone pilot, you’re going to have to follow the rules—and we mean both the FAA’s and your local municipality’s regulations. 

There have been progressing efforts to make it easier for drone operators by creating a single, unified set of regulations, but many municipalities still do not have their own specific rules in place yet. In these cases, it is up to you as an individual drone pilot and operator to ensure that you know all applicable laws and regulations before taking off with your Part 107 drone license or commercial license.

2. Not conducting airspace research or flight planning before flying.

A drone pilot consulting flight information on a tablet

Airspace research and flight planning are two things that many new Part 107 pilots overlook or don’t fully understand. However, they’re incredibly important—and if you’re going to be a successful commercial drone pilot, you need to know why they’re so vital.

Airspace research is essential for all the information you’ll need about your planned flight site, from regulation information (such as airspace rules) to weather data (like wind speeds at altitude). Flight planning involves assessing the risk factors for your intended route, including obstacles like trees or buildings that could get in the way of your drone during takeoff or landing.

3. Not testing your equipment before flying.

A bench full of drone equipment

The first thing you should do before flying is to make sure that everything works. Be sure to perform the following checks:

  • Test your drone battery and charger, making sure it can charge the battery in a reasonable amount of time.
  • Check all the connections on your controller and FPV setup to make sure they’re tight and free of any dust or dirt that could cause issues with connectivity.
  • Turn on your video transmitter, pair it with your receiver, set up an antenna mount, and test the signal strength (in meters) from each direction around you at different altitudes/positions—just like when you fly! Is everything clear? If not, try changing some settings in order to get better reception.

4. Flying near airports, animals, moving cars, people, emergency services, or at night.

A sign on a fence that says no drone zone

When you’re starting out as a new Part 107 drone pilot, you must follow certain rules and regulations to ensure your safety as well as everyone else’s, including the following:

  • Don’t fly near an airport (unless you have permission from the control tower). Airports can be busy places with a lot going on around them. Keep your drone out of this area so that it doesn’t get in anyone’s way or cause any problems if it falls out of the sky.
  • Don’t fly near people because they could be hit by a drone falling from the sky which would cause injury or death. Also, don’t fly near emergency services such as police officers because this might interfere with their job and endanger their lives, too!
  • Don’t fly near animals because they may become frightened by seeing a flying object nearby which could lead them to run away from their habitat. Some species have also been known to attack drones, so keep this in mind when planning your flight path!
  • Don’t fly at night when you are just starting out. Flying drones is already hard, and flying at night is even harder. We recommend getting additional fly time under your belt before taking to the night skies.
  • Stay aware of restricted airspaces. While planning your flight, turn to Mapware Fly to automatically highlight “restricted” and “authorization” airspace zones directly on our mission map. With this feature, you can feel confident that your drone flights are compliant with local restrictions.

5. Flying higher than the 400-foot limit.

One major Part 107 rule to note is that the 400-foot limit is not a minimum—it’s the maximum! 

The FAA has set this height as your absolute ceiling for flight without having to file an exemption request with them first because they don’t want pilots accidentally flying over people or structures and hitting them with drones, which could cause serious harm if they’re carrying any kind of cargo. We’ve seen too many incidents where drone pilots have flown too close to buildings while attempting low-altitude flights. 

It’s important that everyone keeps their distance when flying at such heights so as not to put themselves or others in danger. We have two simple features in Mapware Fly that will help you stay in flight height compliance:

  • Terrain Following: Set a target altitude for your autonomous flight right within Mapware Fly. When terrain following is turned on, the drone’s height above ground level will automatically adjust as the underlying terrain changes.
  • Live Telemetry: During flights, you can view real-time drone telemetry information including above ground level (AGL) altitude, mean sea level (MSL) altitude, horizontal and vertical speed, SD card space remaining, drone battery, and distance to home (takeoff location).

6. Crashing your drone.

A broken drone on the ground

It’s easy to think that drones are indestructible, but they’re not. If you get nervous or flustered while flying and crash your drone, it might not be salvageable—and that’s where the real cost comes in. 

A crash can damage the drone and its controller (or remote control), which could mean needing to order new parts or buying another device altogether. Don’t let this happen! Always have a backup drone and backup parts on hand. Also, don’t forget about battery life: if your battery dies mid-flight, there goes your chance of getting home safely as well!

To help protect you from crashing your drone, tap into these two Mapware Fly Features:

  • Controller Connection Status: Know exactly how strong of a connection you have between your controller and drone at all times.
  • Mission Progress Awareness: Keep tabs on images captured, where your drone has been, how much of the mission has been completed, and the time remaining in the flight.

7. Not Understanding Your Surroundings

Before you take off, make sure you visually survey the area where you intend to fly to get the lay of the land (or absence of land). Look for bodies of water, power lines, fences, and other obstacles. 

If you choose to fly over water, be aware that the reflective surface can impact the drone’s sensors and it might not respond correctly to your inputs. It’s also important to stay high above the water because trying to skim the surface could result in a drone lost to the drink. 

When it comes to obstacles like power lines and chain link fences, your drone may not be able to see them. You can rely on automation for a lot, but if you want to protect your equipment, keep an eye on the sky—and your drone—and be prepared to use manual controls when necessary.

8. Ignoring Weather Conditions

One of the more unpredictable factors to plan for is the weather. In addition to adjusting flight plans based on wind speed and other conditions, be aware of how the weather might impact the drone itself. Always check the drone weather forecast before you fly, and be prepared to change your route if inclement weather is in your intended flight path. 

Extreme heat or cold can also impact drone batteries. Store your drone in a conditioned space to protect battery life, and be aware of the risks of failure when you fly in extreme temperatures.

9. Not Having a Pre-Flight Plan

Luckily for new and experienced drone pilots alike, there are apps out there—such as Mapware Fly—that can easily automate the flight-planning process.

With Mapware Fly, you get access to automated and accurate 3D drone mapping. You can easily explore and manage high-quality 3D models and orthomosaics directly from your mobile device, allowing for effortless automated flying and data collecting.

For those just getting started, Mapware Fly can help you with:

  • Automatic Flight Paths: Easily draw an outline of your “area of interest” on an interactive map, and Mapware Fly will automatically create the optimal flight path based on your configured flight parameters.
  • Preflight Checklist: Perform successful missions with a preflight checklist at the start of each flight. The app confirms that the drone is properly connected, has enough battery life to perform the mission, and that the flight path doesn’t encroach on restricted airspace.
  • Offline Operation: Plan and execute drone missions at a remote site without needing a Wi-Fi or cellular signal.
  • Create Missions Without a Connected Drone: Create and plan a mission without connecting your device to a drone. This feature allows you to plan missions before they go out into the field so you don’t waste valuable field time.

Drone Pilot Successfully with the Right Resources

Even though we’ve covered a lot of ground in this article, it’s just the tip of the Part 107 iceberg. 

There are plenty of online and in-person resources to help you learn about the rest. The best ones are probably your local aeromodelling club, drone community events, online forums for hobbyists, and of course, Mapware. The more you learn about UAVs and how to fly them safely and legally, the better off you’ll be as a new pilot!

Mapware makes flight planning and capture easy. Download Mapware Fly and see for yourself.

learn how the public sector drives innovation with geospatial intelligence and data driven mapping ebook

This article, originally posted on June 21, 2022, was updated June 7, 2023.